Chassis 2021: Unterschied zwischen den Versionen
Aus www.wiki.ardumower.de
(→Motor bearing is stiff) |
|||
| Zeile 7: | Zeile 7: | ||
* [[PCB 1.3 (English)|How to solder the PCB]] | * [[PCB 1.3 (English)|How to solder the PCB]] | ||
* [[Ardumower Sunray|All about Ardumower Sunray (GPS RTK-Version)]] | * [[Ardumower Sunray|All about Ardumower Sunray (GPS RTK-Version)]] | ||
| + | * [[Maintenance_Repair_Tips | Maintenance & Repair Tips]] | ||
[[File: Ardumower chassis2021 weiß.jpg | 500px]] | [[File: Ardumower chassis2021 weiß.jpg | 500px]] | ||
Aktuelle Version vom 6. September 2021, 21:04 Uhr
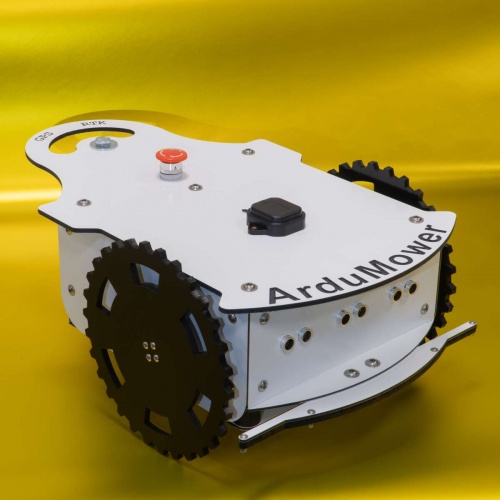
This page describes the assembly of the Ardumower chassis that you can purchase via the shop ![]() .
.
Related pages:
Please start watching the detailed instruction videos on Youtube (see section "Videos"). This page is based on the content of the videos.
Inhaltsverzeichnis
Videos
- Ardumower Tutorials Chassis 2021 Teil 1 WasGehoertDazu
- Ardumower Tutorials Chassis 2021 Teil 2 Vorbereitung
- Ardumower Tutorials Chassis 2021 Teil 3 Montage
Tools
- Screw driver
- Different Imbus screw driver
- Different Torx screw driver
- Knife
- Round and flat file
- sand paper or sand sponge
- Drill machine with drill set (3,4,6,8,10 mm drills)
Whats inside the Box?
Preparation of Plate-Materials
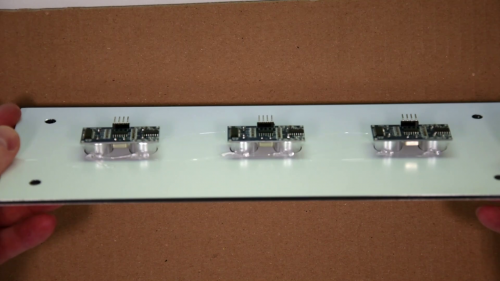
Front-Plate
Mount the three Sonar-Sensors with hot-glue (carefully).
Mow-Plate
Inserting the threaded sleeves for the mower blades.
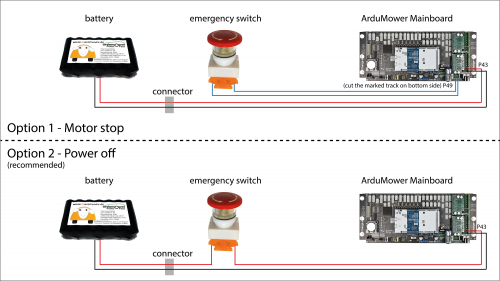
Wiring
There are two options to wire the emergency switch. Option 2 is the recommended version. If you realize version 1, don´t forget an external accessible power-Switch (close to "connector") .


