WIFI Perimeter Sender(English): Unterschied zwischen den Versionen
(→PROGRAMMING ESP32) |
(→PROGRAMMING ESP32) |
||
| Zeile 47: | Zeile 47: | ||
Open your Arduino Ide 1.8 or later | Open your Arduino Ide 1.8 or later | ||
| − | + | Select ESP32 DEV Module and correct COM port | |
| − | + | [[Datei:ide-setting-30.png|400px]] [[Datei:ide-setting-35.png|400px]] | |
| − | [[Datei:ide-setting-40.png| | + | |
| + | ---- | ||
| + | |||
| + | To upload code do not forget : At the end of compilation when you see "connecting ....." --> push the BOOT button locate on ESP32 DEV KIT for 5 sec to start uploading | ||
| + | |||
| + | [[Datei:ide-setting-40.png|400px]] [[Datei:esp32 boot.png|100px]] | ||
| + | |||
| + | ---- | ||
Version vom 14. März 2021, 10:50 Uhr
WIFI Perimeter sender.
Inhaltsverzeichnis
WIFI PERIMETER SENDER
Hardware
You need :
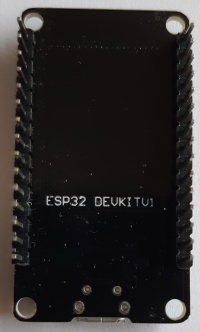
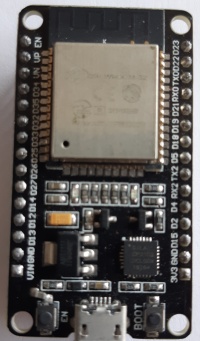
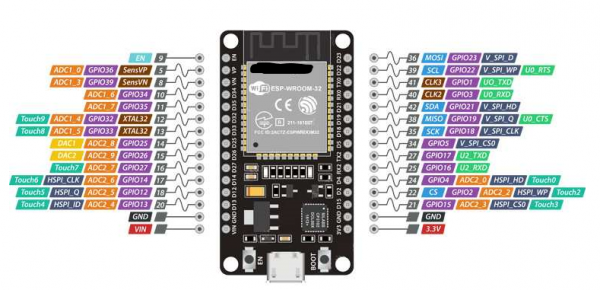
1 ESP32 DEV KIT V1 (or later but with same pin diagram).
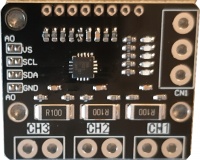
1 INA3221 3-Channel DC Current Sensor :
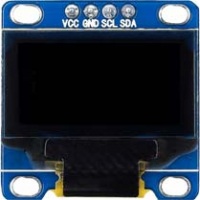
1 I2C Small OLED Display
1 DC/DC Converter
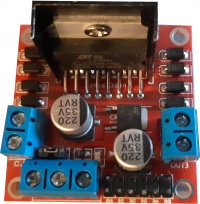
1 L298N motor Driver.
WIRING
Now you need to connect everything together.
Option 1
It's the same that standard sender Only one perimeter wire is used.
Option 2
2 area perimeter wire are possible.
PROGRAMMING ESP32
You need to use Arduino IDE to upload code into ESP32, It's easy and exactly same process that for Arduino DUE or Mega ,but need to select the correct board.
Add the ESP32 board to your arduino IDE: for more info see : https://github.com/espressif/arduino-esp32/blob/master/docs/arduino-ide/boards_manager.md
Open your Arduino Ide 1.8 or later
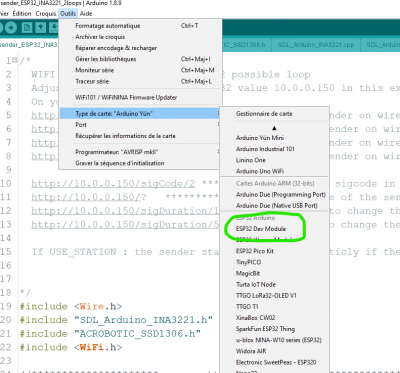
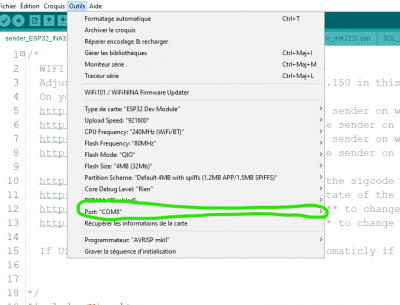
Select ESP32 DEV Module and correct COM port
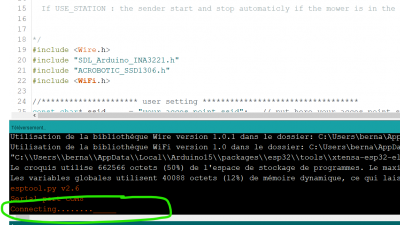
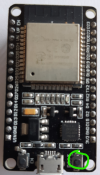
To upload code do not forget : At the end of compilation when you see "connecting ....." --> push the BOOT button locate on ESP32 DEV KIT for 5 sec to start uploading
