AzuritBer Pi Explain (English)
Inhaltsverzeichnis
Piardu Help
Main Menu
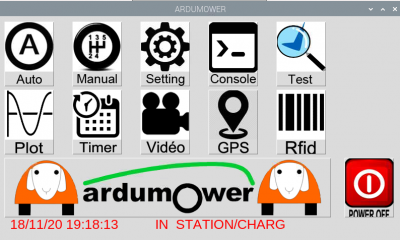
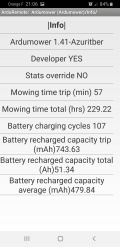
If you click on the ardumower logo you can see the info page.
Click on Power Off is the normal shutdown of the mower: Console is saved, Raspberry PI start to shutdown and after 1 minute all the PCB is power OFF.
All other icons are explicit.
Auto Page
It's the initial start menu.
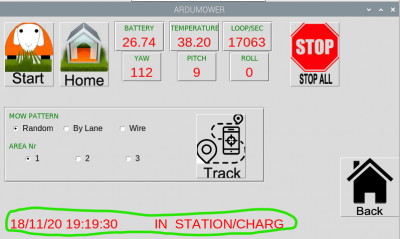
You can check here in the status bar the exact mode of mower
Date and time need to change each 1 seconde and loop/sec each 500 ms if everything is OK.
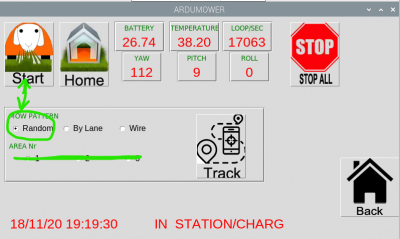
Start icon start mower in automatic mode with the MOW PATTERN selected (AREA NR option are ignored)
Stop All icon immediatly stop mower.
Home icon send mower to station
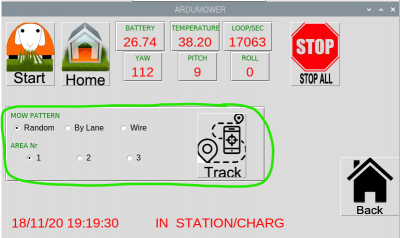
Track icon send mower to an other mowing area (work only with wifi sender and RFID option), Mower reach the perimeter wire and track until find RFID tag for new area and use MOW PATTERN selected
Manual page
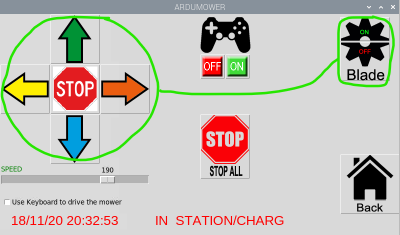
Icons use to drive mower manually (Perimeter wire is not check)
STOP only stop drive and STOP ALL stop all mower and reset all error
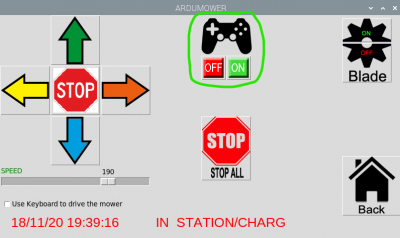
You can use a PS4 remote control to drive mower over Bluetooth
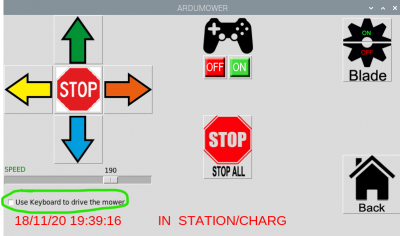
If checked you can use a remote keyboard to drive.
m --> Start Blade
q --> Stop Blade
Up --> Forward
Down --> Reverse
Right --> Turn right
Left --> Turn left
Space --> Stop all
Setting Page
It's better to use ARDUREMOTE for general setting but you can find here an other access to simple setting.
Main setting
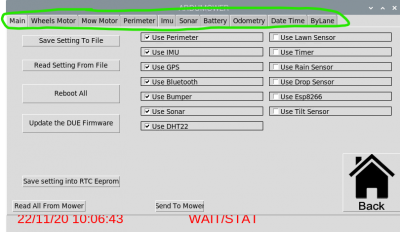
All page are store on tab item :
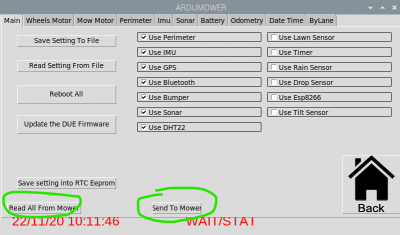
The Main Tab is the most important, You can here change main option of mower like Use Timer for example
Change are only validate if you click on send to mower, Be careful, all Setting change including other tab (perimeter,imu etc..), are send to mower
If you want that your change are here on the next mower restart, you need to click on Save setting into RTC eeprom.
It's also possible to save all setting on the raspberry file and restore it later using Save setting To File and Read setting from File.
Simple Setting
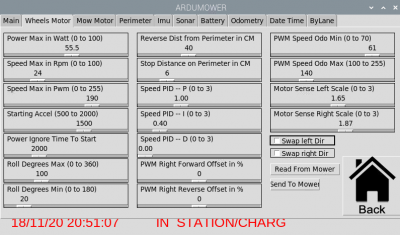
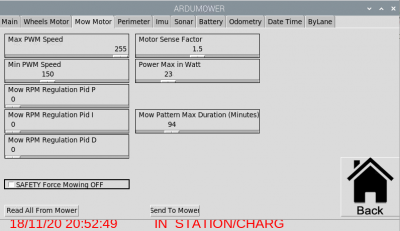
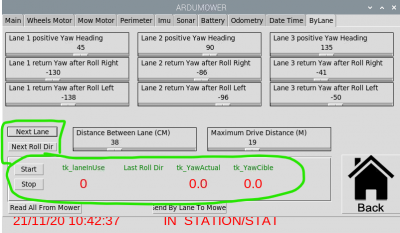
Here some example of the other setting TAB, nothing particular except in ByLane page.
DUE Firmware Update
You can upload a new version of AZURITBER inside DUE over WIFI.
![]() JP8 need to be in always ON mode during the Flash process, When DUE flash it can power OFF PCB1.3 and flash fail.
JP8 need to be in always ON mode during the Flash process, When DUE flash it can power OFF PCB1.3 and flash fail.
If you do that by error flash again firmware normally with USB cable and programming port.
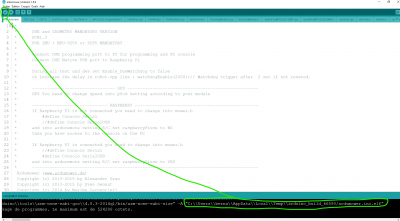
On your PC load source code into arduino IDE an simply compile it, at the end of compilation look at the penultimate line, you can find the directory where IDE compiler store the bin file named.
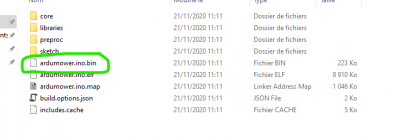
Locate this directory and check that ardumower.ino.bin is present with correct date time
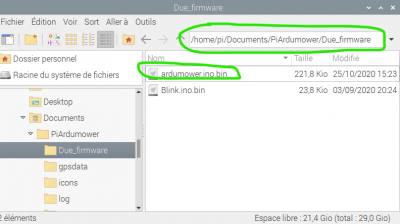
Now use VNC to transfert file ardumower.ino.bin from your PC to Raspberry PI ,Under folder Piardumower/
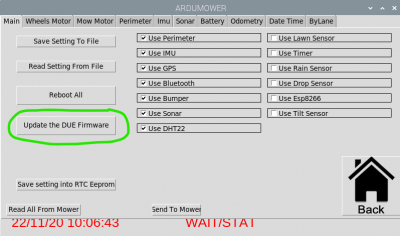
If the file is present you can now click on UpDate the DUE Firmware button
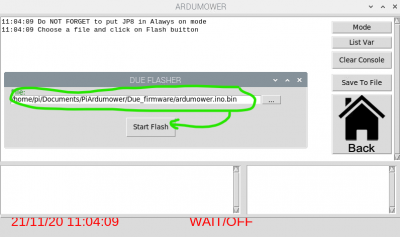
Before click on Start Flash : check that JP8 is in always ON mode
Click on Start Flash and wait less than 2 minutes : process if faster than with PC and programming port. After a while Due Flasher page disappear and check in console than restart is OK with new firmware.
File ardumower.ino.bin is automatically delete from folder to avoid error on next flash : File can't contain "(" or special char
Do not forget to set JP8 in Autom Mode to protect battery
ByLane Setting
Here you can find 2 buttons Next Lane and Next Roll Dir used to change behaviour when ByLane mowing
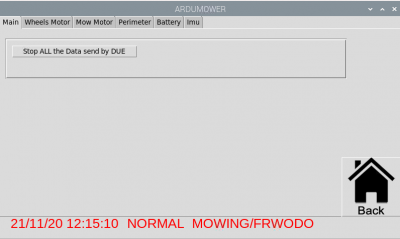
Start and Stop Button are used to automatically refresh the frame
Console Page
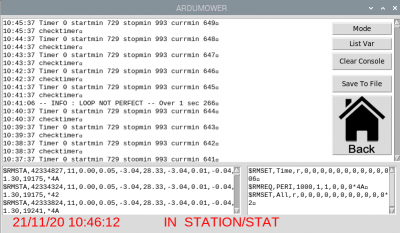
Console is used to understand all what's append when mower is running,Bottom left list is NMEA coming from DUE,Bottom Right list is NMEA send to DUE
The Console Data are automatically saved on SD card when mower power OFF or when error occur.
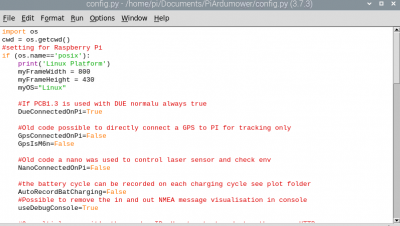
Contain can change according your setting into arduremote (Developer YES or NO) or into config.py (UseDebugConsole)
Mode show Azurit message and change each time you click on it
List Var list all your setting
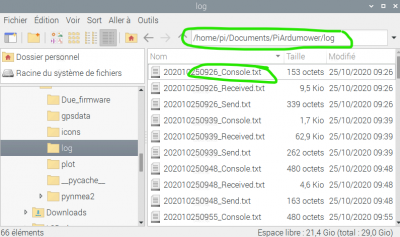
Save To File save all console data on Raspberry PI SD card in log folder
Test Page
It's same test than Arduremote but with new possibility:
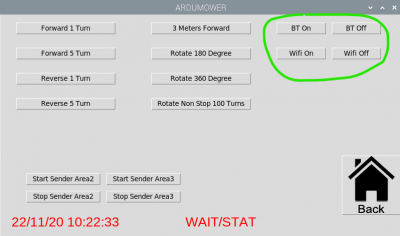
You can control the WIFI and RFID here ,so it's possible,(For example if use a screen and NO WIFI) to deactivate WIFI or Bluetooth.
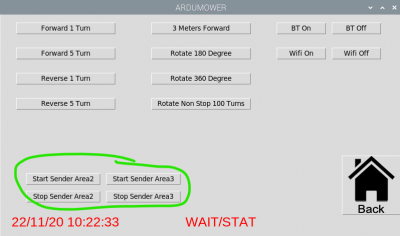
Here you can start and stop other area sender
IP adress of area 2 and area 3 sender need to be set into config.py file.
Plot Page
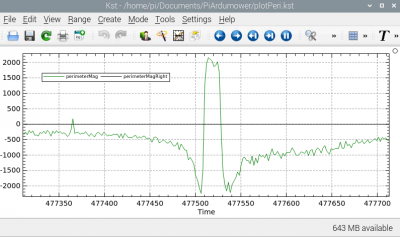
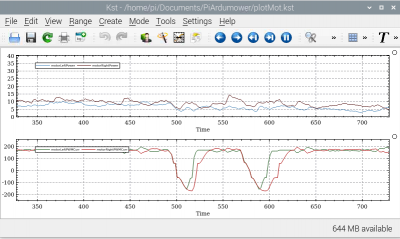
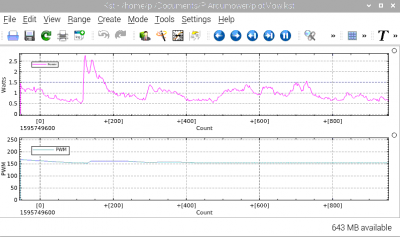
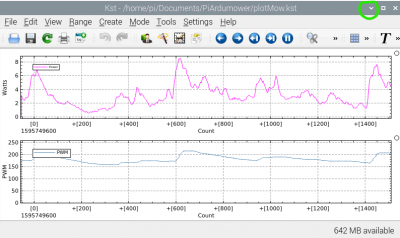
Piardu save data coming from due on SDcard and KST read the file in real time to show the data .
For more info see KST internet page : https://kst-plot.kde.org/
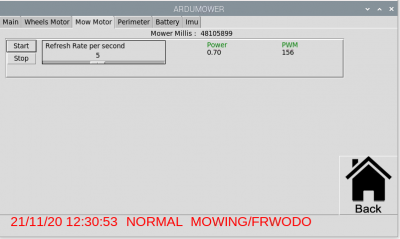
On each page you can select data frequency and click on Start :A refresh rate of 5 indicate that DUE send data each 200ms.
KST is automatically open and show the graph. Actually the last 200 value slide on the graph but it's easy to change directly into KST setting.
It's better to reduce KST windows and stop the plot on plot page (Avoid to close KST before stopping data)
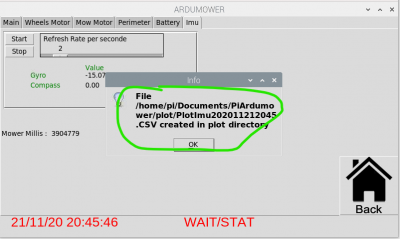
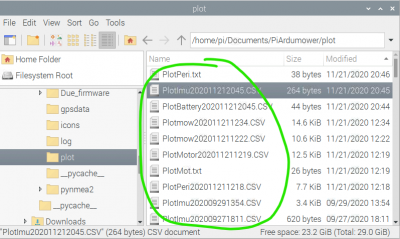
When click on stop, a message show the name of the .CSV file generate by Piardu , so you can later copy it on your PC and read it using Excel for example.
Timer Page
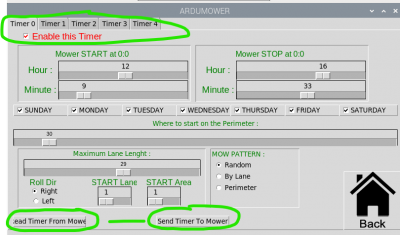
It's easier to use timer on Piardu because you can see all data in one page
It's possible to adjust 5 timers using the tab item (Never cross the timer start and stop hour for the same day)
Nothing particular except you need to click on Send Timer to Mower on each change and if you want that your change are here on next reboot Save setting into RTC eeprom using setting menu
Video Page
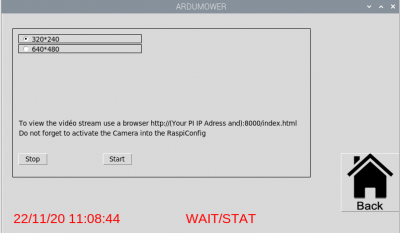
If you have connected a camera on Raspberry PI ,it's possible to share video over WIFI
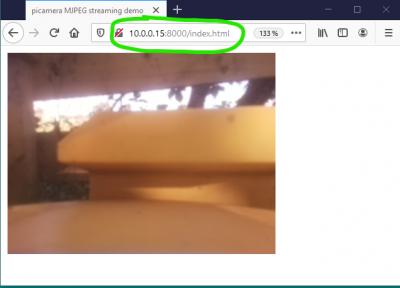
To see live stream Use a browser with IP of you PI and :8000
GPS Page
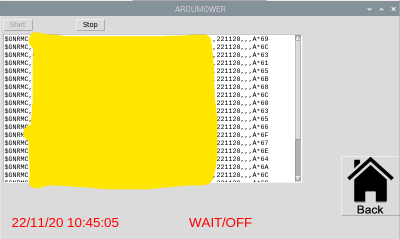
GPS data are not used by software because Using non RTK GPS is not accurate.
If you USE RTK GPS you need to use sunray firmware https://wiki.ardumower.de/index.php?title=Ardumower_Sunray
Here it's only a data logger and you can use the generate file to see the mower run at +/- 10 meters accuracy
GPS Prune https://activityworkshop.net/software/gpsprune/download.html use the .txt file and you can install it directly in the raspberry pi.
U-Center https://www.u-blox.com/en/product/u-center use the .ubx file on your PC
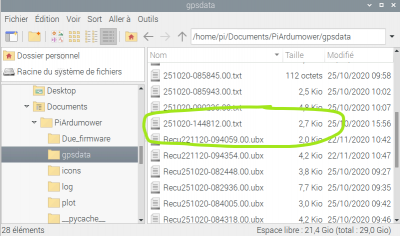
File are locate in gpsdata in PI sd card :
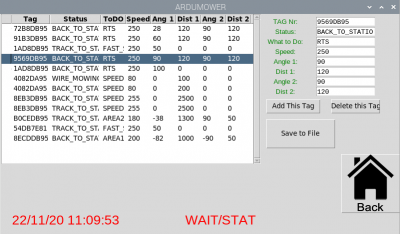
RFID Page
To use RFID ,you need hardware option
Description is here :
